ESP8266
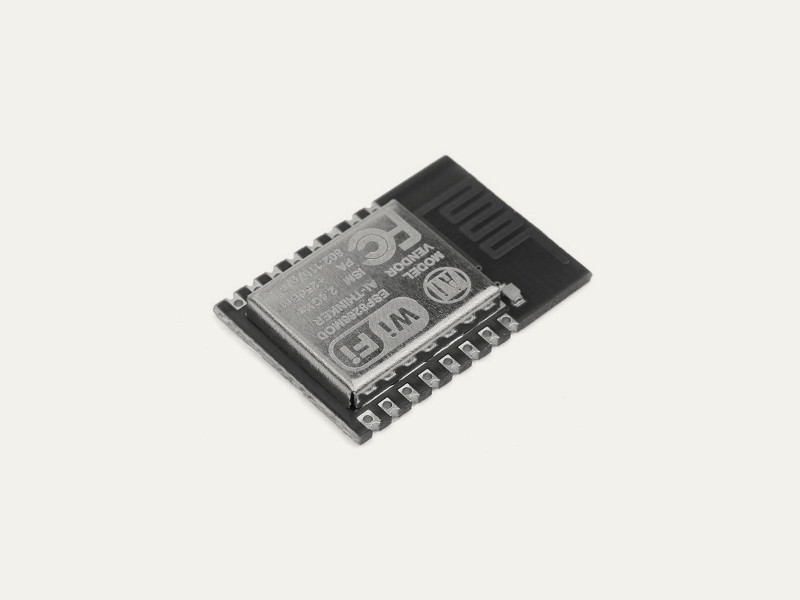
Gobot provides an adaptor for the ESP8266 as well as Arduino-compatible microcontrollers that support the Firmata protocol used with a WiFi adaptor.
For more info about the ESP8266 platform go to http://espressif.com/products/hardware/esp8266ex/overview/.
API ReferenceHow to Install
go get -d -u gobot.io/x/gobot/...
How to Use
package main

import (
        "time"

        "gobot.io/x/gobot"
        "gobot.io/x/gobot/drivers/gpio"
        "gobot.io/x/gobot/platforms/firmata"
)

func main() {
        firmataAdaptor := firmata.NewTCPAdaptor("192.168.1.26:3030")
        led := gpio.NewLedDriver(firmataAdaptor, "2")

        work := func() {
                gobot.Every(1*time.Second, func() {
                        led.Toggle()
                })
        }

        robot := gobot.NewRobot("bot",
                []gobot.Connection{firmataAdaptor},
                []gobot.Device{led},
                work,
        )

        robot.Start()
}
How to Connect
Upload the Firmata Firmware to the ESP8266
This section assumes you're using a ESP8266 or other compatible board. If you already have the Firmata sketch installed on your ESP8266, you can skip straight to the examples.
Install ESP8266 Arduino Addon
Open up the Arduino IDE, then go to the Preferences (File > Preferences) menu. Add the following URL to the "Additional Board Manager URLs" field:
http://arduino.esp8266.com/stable/package_esp8266com_index.json
Save the new board manager location by clicking "OK".
Now go to the Board Manager choosing "Tools > Board > Boards Manager".
Search for "esp8266", then click on the "Install" button.
Download Wifi Enabled Firmata
You can obtain the WiFi-enabled version of Firmata from the http://firmatabuilder.com/ web site.
Under "Configure Connection" choose "WiFi" as the "Connection Type".
Choose "ESP8266" from "Wi-Fi board or shield".
Enter your network's SSID under "SSID"
Make sure you choose all of the needed "Core Features", which are normally:
- DigitalInputFirmata
- DigitalOutputFirmata
- AnalogInputFirmata
- AnalogOutputFirmata
- I2CFirmata
Now you can "Build and Download" your custom Firmata.
Flash the ESP8266 With Firmata
Once the ESP8266 board addon is installed, and you have downloaded your custom Firmata sketch, you are ready to flash your ESP8266.
Open the custom Firmata you downloaded from FirmataBuilder with the Arduino IDE.
Customize the sketch with the WPA passphrase for your network settings.
Make sure your ESP8266 is plugged into your USB port.
Choose your ESP8266 model from the "Tools > Boards" menu.
Click on the "Upload" button. Your ESP8266 should now be ready.
Drivers
Available drivers for the ESP8266 platform are listed below, the drivers contain detailed documentation and examples: