Intel Joule
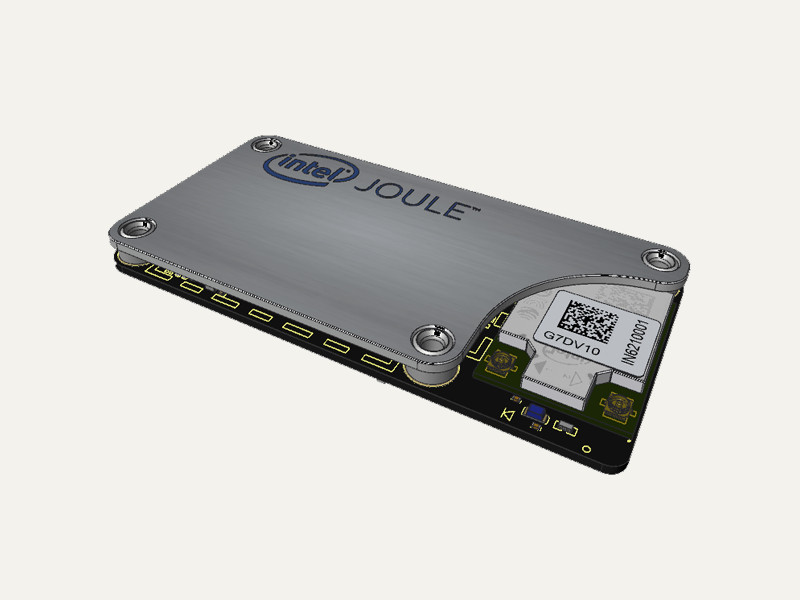
The Intel Joule is a WiFi and Bluetooth enabled development platform for the Internet of Things.
For more info about the Intel Joule platform go to:
http://www.intel.com/joule
API ReferenceHow to Install
You would normally install Go and Gobot on your workstation. Once installed, cross compile your program on your workstation, transfer the final executable to your Intel Joule, and run the program on the Intel Joule itself as documented here.
go get -d -u gobot.io/x/gobot/...
Setting up your Intel Joule
Everything you need to get started with the Joule is in the Intel Getting Started Guide located at:
https://intel.com/joule/getstarted
Don't forget to configure your Joule's WiFi connection and update your Joule to the latest firmware image. Gobot has been tested using the reference OS based on Ostro.
How To Use
package main

import (
        "time"

        "gobot.io/x/gobot"
        "gobot.io/x/gobot/drivers/gpio"
        "gobot.io/x/gobot/platforms/intel-iot/joule"
)

func main() {
        e := joule.NewAdaptor()
        led := gpio.NewLedDriver(e, "GP103")

        work := func() {
                gobot.Every(1*time.Second, func() {
                        led.Toggle()
                })
        }

        robot := gobot.NewRobot("blinkBot",
                []gobot.Connection{e},
                []gobot.Device{led},
                work,
        )

        robot.Start()
}
You can read the full API documentation online.
How to Connect
Compiling
Compile your Gobot program on your workstation like this:
$ GOARCH=386 GOOS=linux go build joule_blink.go
Once you have compiled your code, you can you can upload your program and execute it on the Intel Joule from your workstation using the scp and ssh commands like this:
$ scp joule_blink root@<IP of your device>:/home/root/
$ ssh -t root@<IP of your device> "./joule_blink"
At this point you should see one of the onboard LEDs blinking. Press control + c to exit.
To update the program after you made a change, you will need to scp it over once again and start it from the command line (via screen).
Pin Mapping
The Gobot pin mapping for the Intel Joule uses a naming system based on how the pins are labeled on the board itself.
There are 2 jumpers on the Joule expansion board, labeled "J12" and "J13". There are 2 rows of pins on each jumper, labeled from 1 to 40. So to use the 26th pin of jumper J12, you use pin name "J12_26".
In addition, there are pins that control the build-in LEDs (pins GP100 thru GP103) as used in the example above.
The i2c interfaces on the Intel Joule developer kit board require that you terminate the SDA & SCL lines using 2 10K resistors pulled up to the voltage used for the i2c device, for example 5V.
Drivers
Available drivers for the Intel Joule are listed below.

